Blush is an essential part of any makeup routine, bringing life and warmth to the face. Achieving perfectly rosy cheeks can enhance your overall look, making you appear healthier, more youthful, and radiant. However, getting that perfect flush requires more than just slapping on some color. It’s about understanding your face shape, choosing the right products, mastering application techniques, and knowing how to blend and build the color.
Understanding Your Face Shape
Before diving into the application process, it’s important to understand your face shape. This will guide you in placing the blush in a way that complements your features. Here’s how to determine your face shape and where to apply blush for each type:
1. Oval Face
An oval face is longer than it is wide, with balanced proportions. This face shape suits most blush application techniques.
Blush Placement: Apply blush to the apples of your cheeks and blend upwards towards your temples. This will enhance your natural bone structure without elongating your face further.
2. Round Face
A round face has softer, more curved lines and is nearly as wide as it is long. The goal is to create the illusion of a more defined structure.
Blush Placement: Focus on the outer areas of your cheeks, applying the blush slightly below the apples. Blend upwards towards the temples to elongate the face and create a slimming effect.
3. Square Face
A square face is characterized by a strong jawline and a broad forehead. The aim is to soften the angular features.
Blush Placement: Apply blush on the apples of your cheeks and blend towards your temples in a circular motion. This softens the edges of your face and adds warmth to your look.
4. Heart-Shaped Face
A heart-shaped face has a wider forehead and a narrower chin. The goal is to balance the proportions by drawing attention away from the forehead.
Blush Placement: Apply blush slightly below the apples of your cheeks and blend upwards, avoiding the temples. This will balance the face and add fullness to the lower half.
5. Long Face
A long face is more elongated with a narrower width. The objective is to create the illusion of a shorter face.
Blush Placement: Apply blush directly on the apples of your cheeks and blend outwards horizontally. Avoid dragging the color up to the temples, as this will elongate the face further.
Choosing the Right Blush Formula
Blush comes in various formulas, each offering different finishes and levels of intensity. Your choice of formula should depend on your skin type, the look you’re going for, and the occasion.
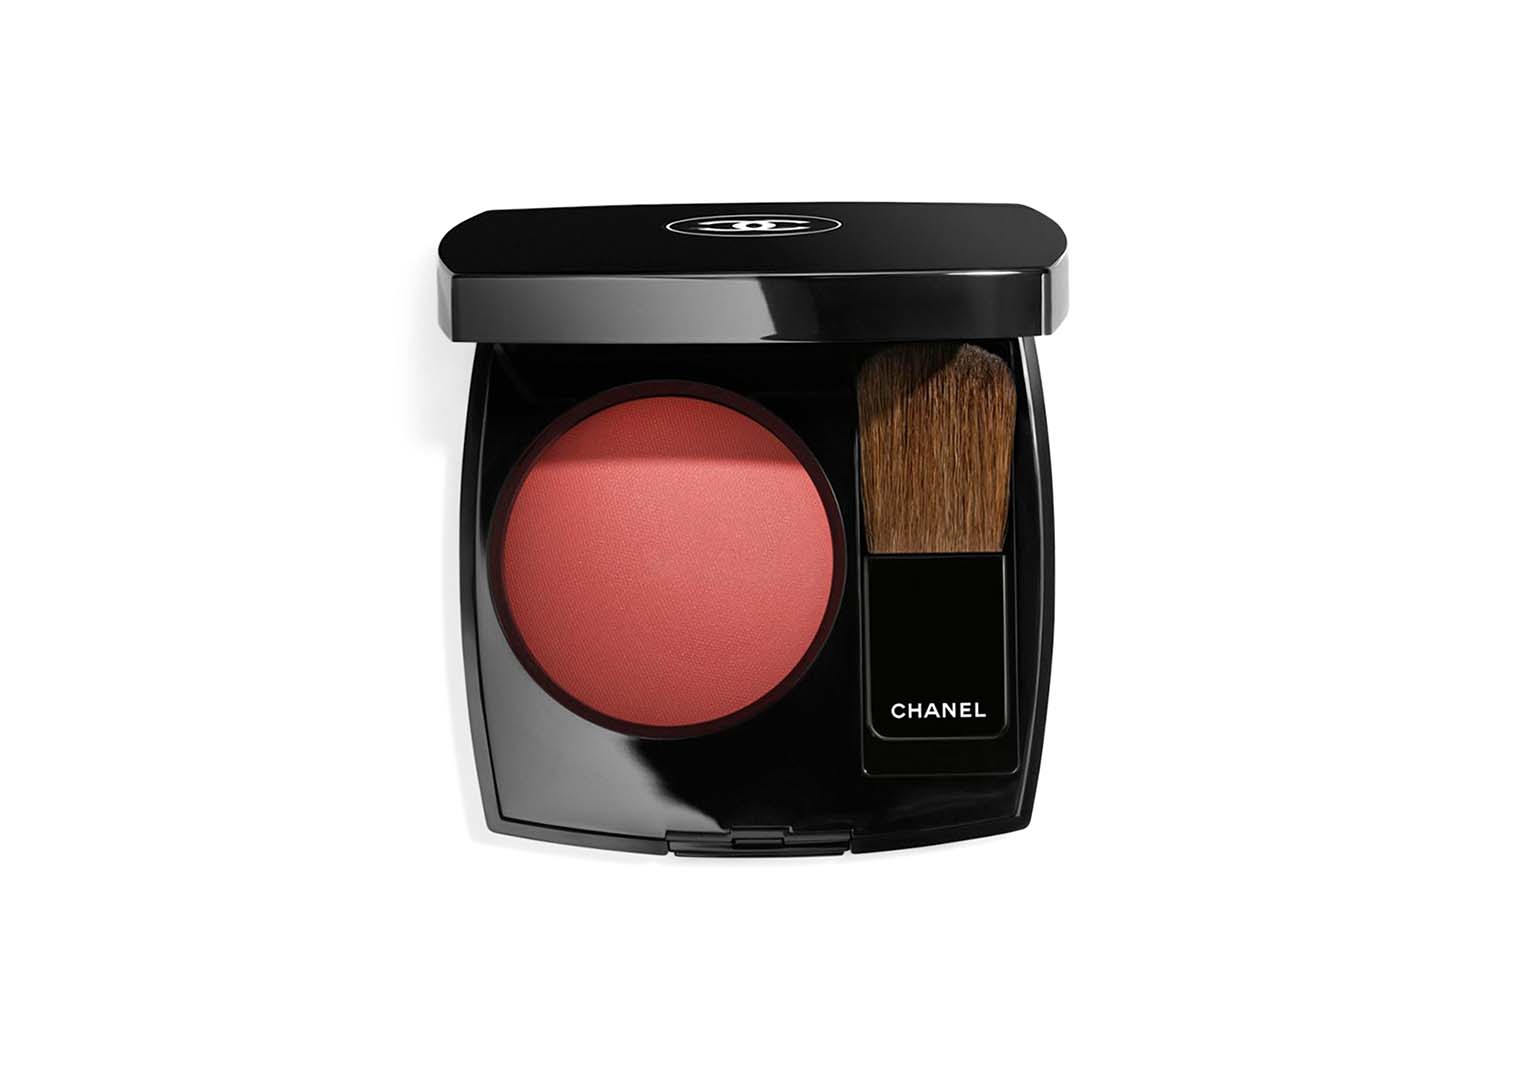
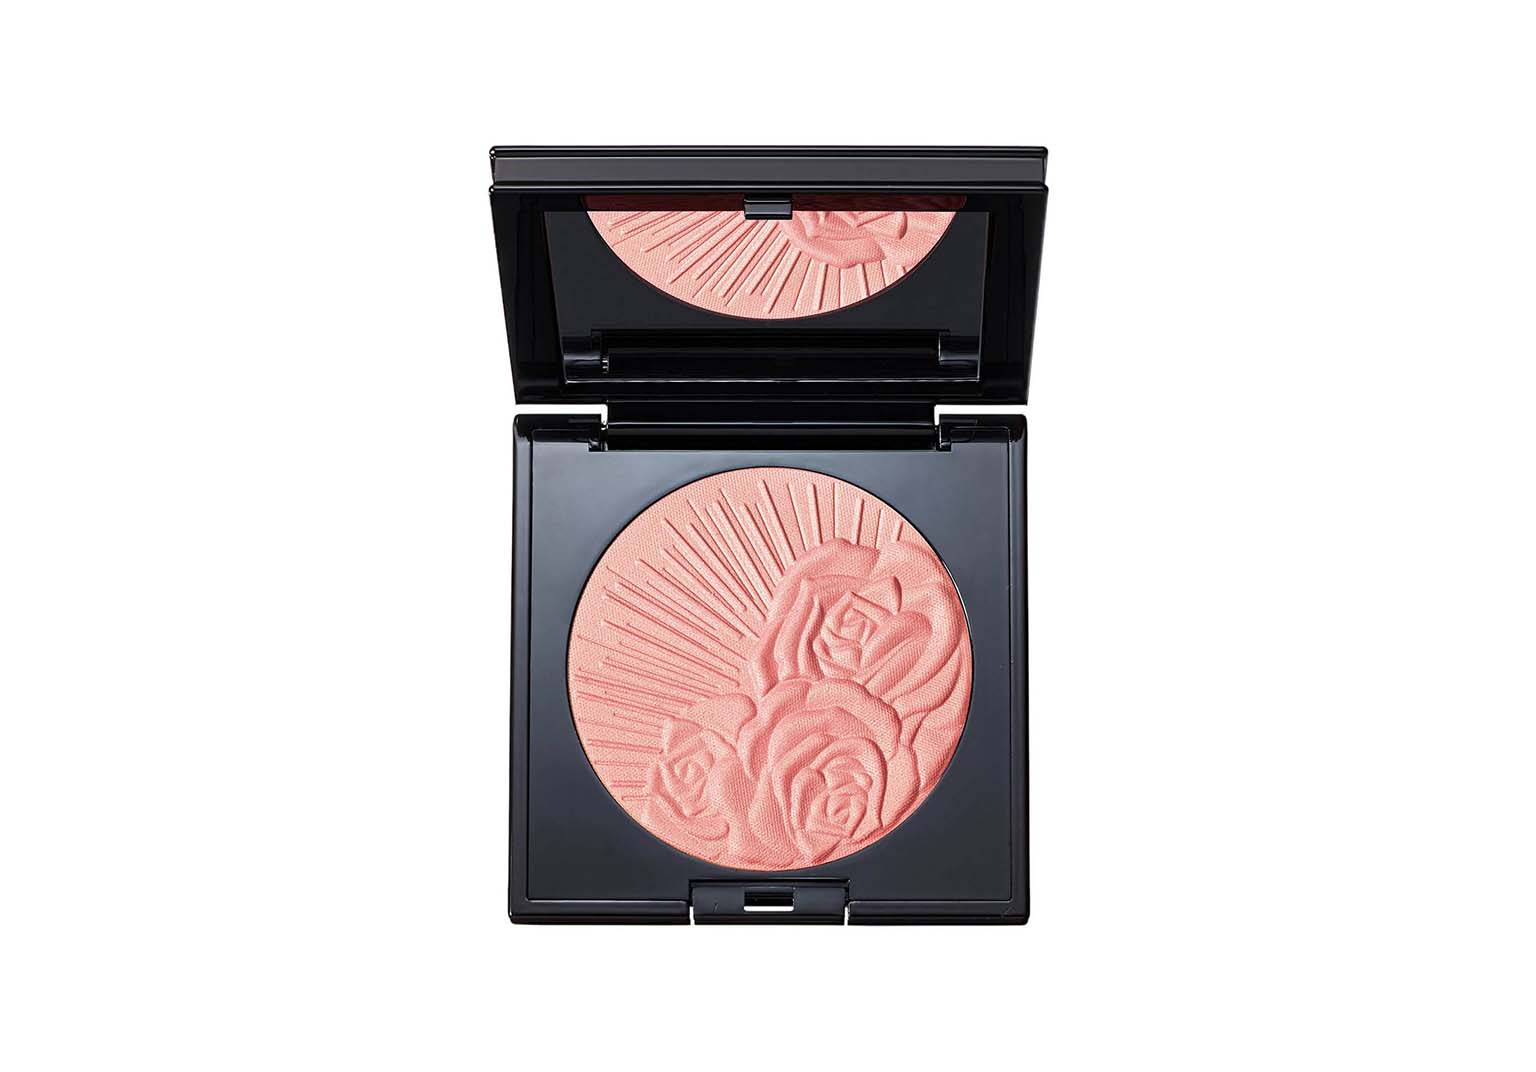
1. Powder Blush
Powder blush is the most common and versatile option. It’s suitable for all skin types, particularly oily or combination skin, as it helps control shine. Powder blushes can range from matte to shimmery finishes.
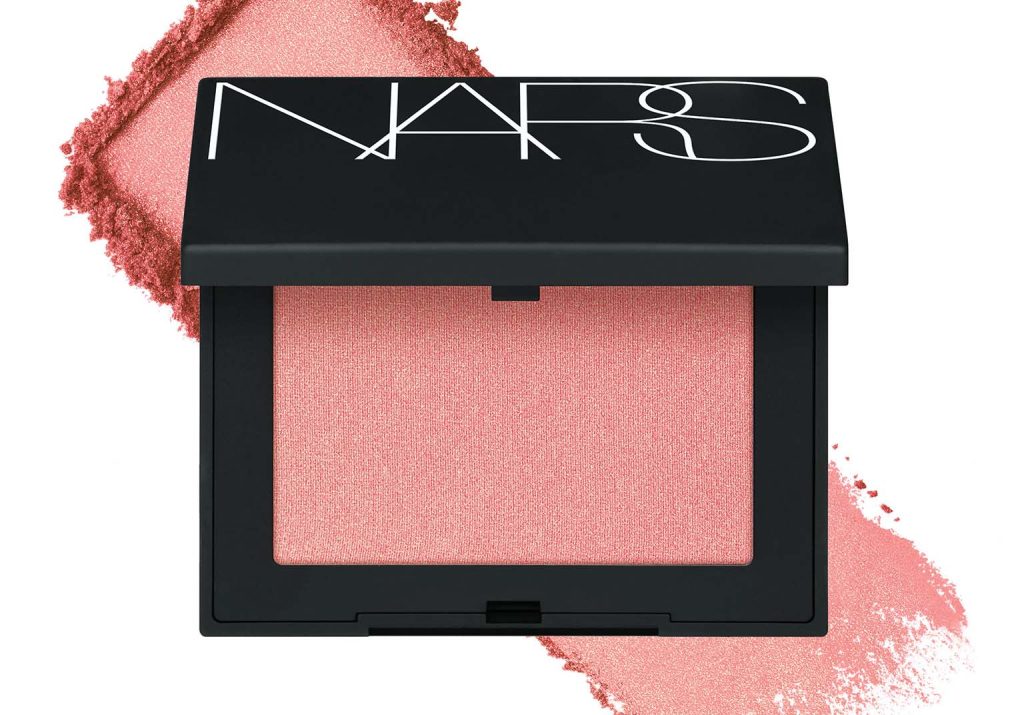
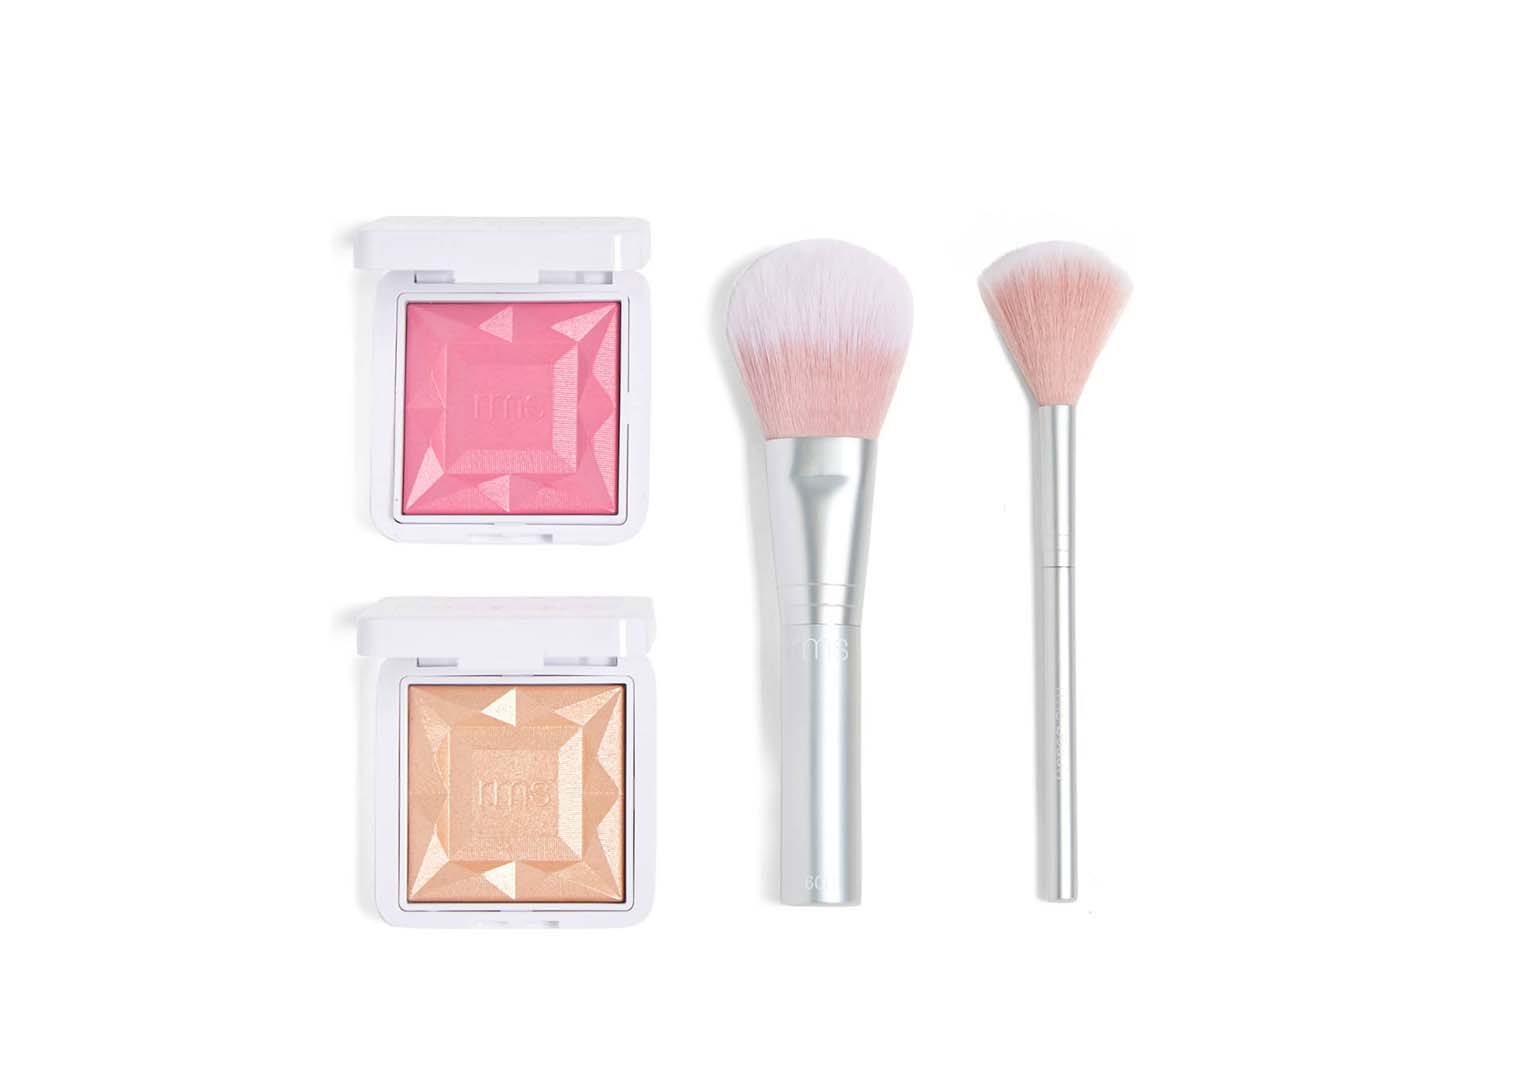
Application Tip: Use a fluffy blush brush for a natural finish. Tap off excess product before applying to avoid overloading your cheeks.
2. Cream Blush
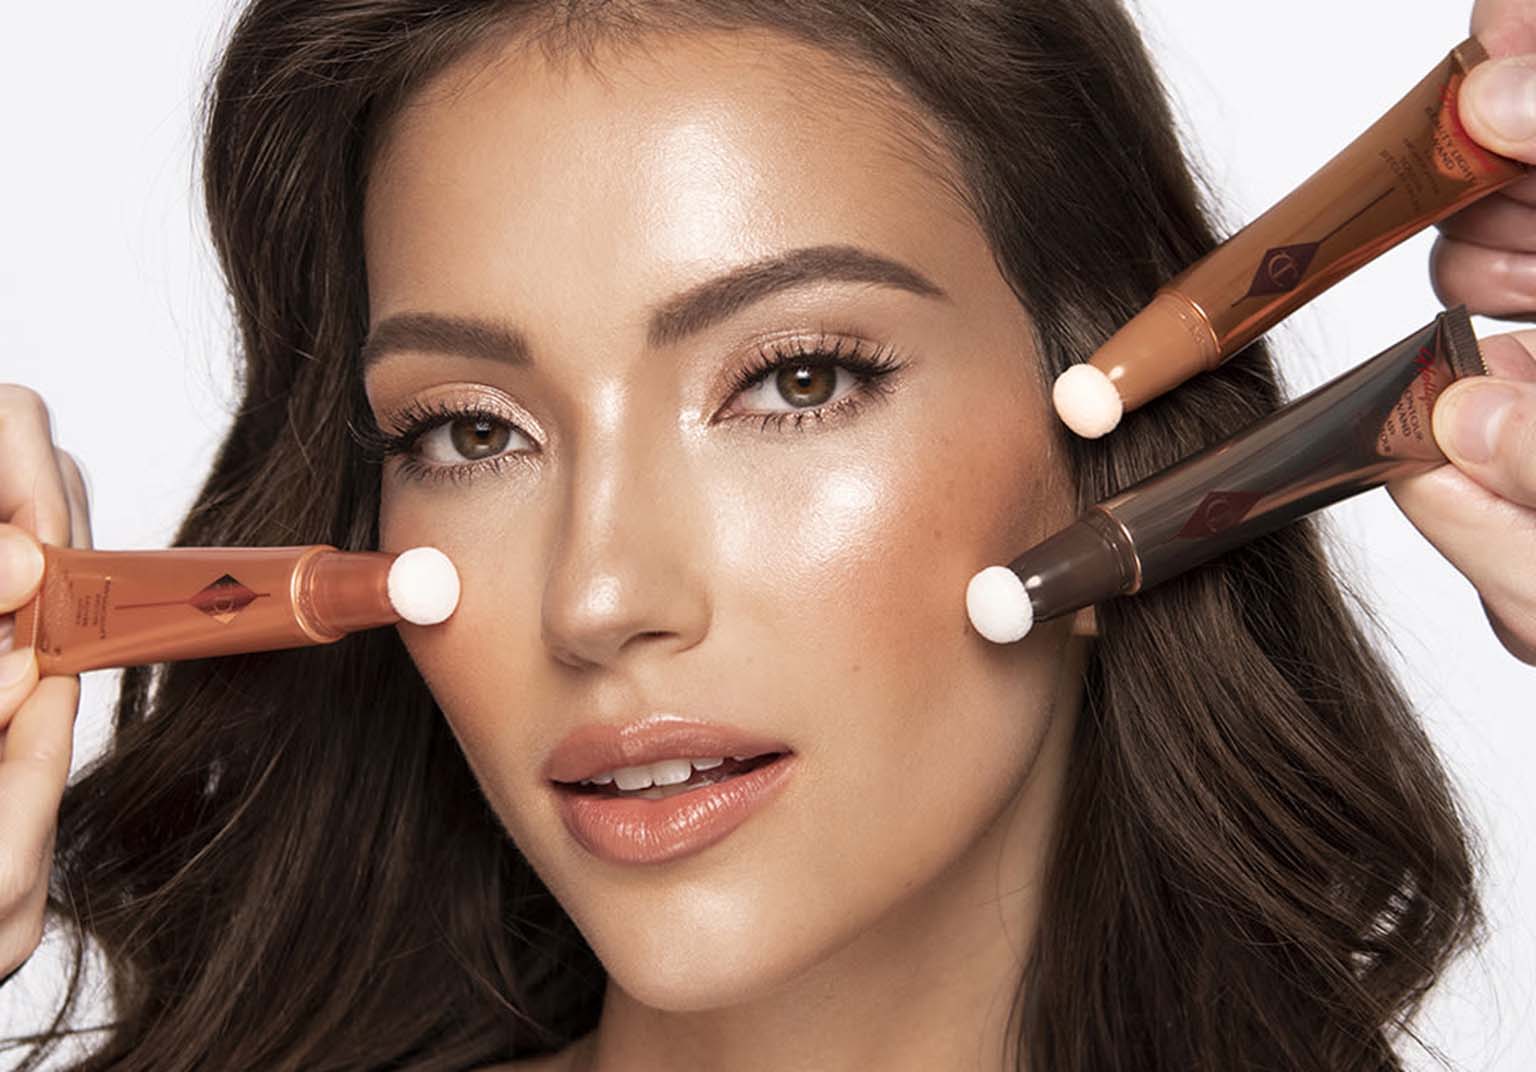
Cream blushes are ideal for dry or mature skin types as they provide a dewy, radiant finish. They are also great for creating a natural, skin-like flush.
Application Tip: Use your fingers or a dense brush to apply cream blush. Blend it into the skin using a tapping motion for a seamless finish.
3. Gel or Liquid Blush
Gel and liquid blushes offer a sheer wash of color, making them perfect for a natural, no-makeup look. They work well on all skin types, especially for those who prefer a lightweight feel.
Application Tip: Apply a small amount with your fingers or a damp beauty sponge. Blend quickly, as these formulas tend to set fast.
4. Stain Blush
Blush stains are long-lasting and provide a sheer yet buildable color. They’re perfect for a day when you need your makeup to stay put.
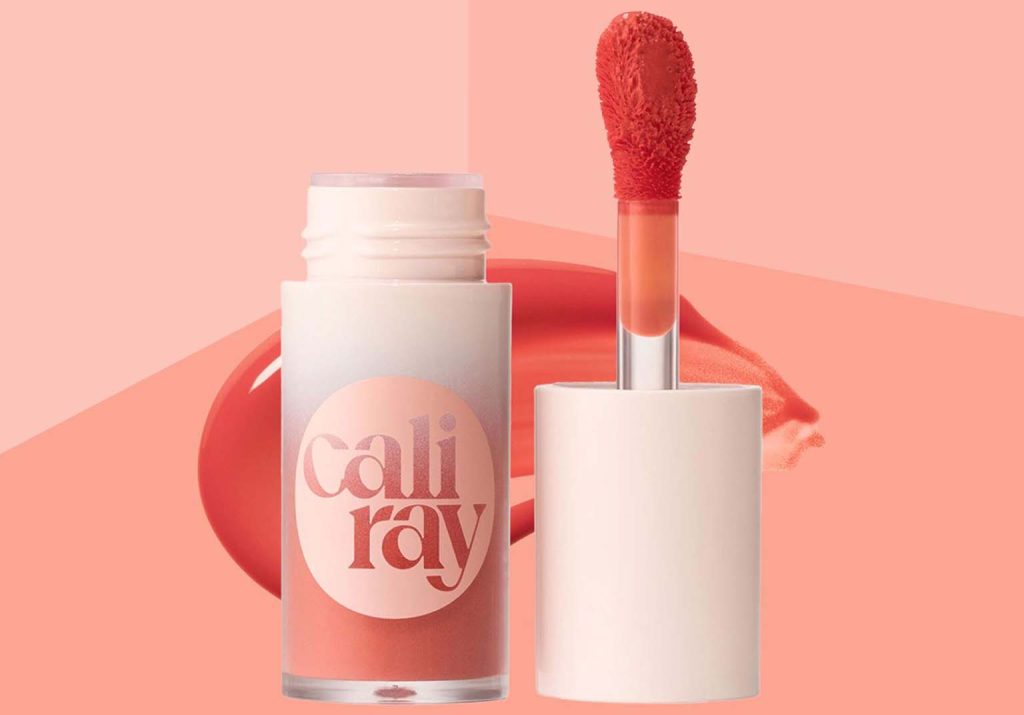
Application Tip: Apply a small amount with your fingers or a sponge, and blend it out quickly. Because stains dry fast, work on one cheek at a time.
Selecting the Right Blush Color
Choosing the right blush color for your skin tone is crucial to achieving a natural-looking flush. Here’s a guide to selecting the perfect shade:
1. Fair Skin
For fair skin tones, light pinks, soft peaches, and baby pinks work best. These colors mimic the natural flush of fair skin without looking overpowering.
Recommended Shades: Soft pink, light peach, pale coral.
2. Medium Skin
Medium skin tones can handle a broader range of blush colors. Peachy pinks, rosy tones, and warm mauves add a natural warmth to the skin.
Recommended Shades: Peach, rose, warm mauve.
3. Olive Skin
Olive skin tones have greenish undertones, so warm blush shades like coral, apricot, and terracotta look stunning.
Recommended Shades: Coral, apricot, bronze.
4. Dark Skin
For dark skin tones, deeper shades of berry, brick red, and rich plums add a beautiful pop of color without looking ashy.
Recommended Shades: Berry, brick red, deep plum.
Step-by-Step Blush Application
Now that you’ve determined your face shape, chosen the right formula, and selected the perfect color, it’s time to apply your blush. Follow these steps to achieve perfectly rosy cheeks:

Step 1: Prep Your Skin
Start with a clean, moisturized face. Apply your foundation, concealer, and any other base products you use. If you’re using a cream or liquid blush, apply it before setting your face with powder. Powder blush should be applied after setting your makeup.
Step 2: Choose the Right Tool
The tool you use will depend on the formula of your blush. For powder blush, use a fluffy blush brush. For cream or liquid blush, your fingers or a dense brush work best. A beauty sponge can also be used for a more diffused finish.
Step 3: Apply the Blush
- For Powder Blush: Swirl your brush into the blush, then tap off the excess. Smile slightly to locate the apples of your cheeks, and apply the blush in light, circular motions, blending upwards towards your temples. Build the color gradually to avoid harsh lines.
- For Cream/Liquid Blush: Dab a small amount of product onto the apples of your cheeks with your fingers or a brush. Blend it out using a tapping motion, working the product into your skin for a seamless finish.
Step 4: Blend, Blend, Blend
Blending is key to a natural-looking flush. Whether you’re using a brush, fingers, or sponge, ensure that the blush is well-blended into your skin with no harsh edges. For powder blush, you can use a clean brush to diffuse the edges.
Step 5: Set Your Blush (Optional)
If you want your blush to last all day, lightly dust a translucent powder over your cheeks. Alternatively, you can use a setting spray to lock in your makeup while keeping your blush looking fresh and radiant.
Common Blush Mistakes and How to Avoid Them
Even with the right tools and techniques, it’s easy to make mistakes when applying blush. Here are some common blush mishaps and how to avoid them:
1. Over-Application
Applying too much blush can result in an unnatural, clown-like appearance. To avoid this, start with a small amount of product and build up the color gradually.
2. Wrong Placement
Placing blush too low or too close to your nose can drag your features down and make your face look unbalanced. Always apply blush to the apples of your cheeks and blend upwards for a lifted look.
3. Using the Wrong Shade
Using a blush shade that’s too bright or too dark for your skin tone can look jarring. Stick to shades that complement your natural skin tone and undertones.
4. Not Blending Properly
Harsh lines and uneven application can make your blush look obvious and unflattering. Always blend your blush thoroughly for a seamless finish.
Tips for Long-Lasting Blush
If you want your blush to last all day, here are some tips to ensure your cheeks stay rosy from morning to night:
1. Layer Products
For extra longevity, layer a powder blush over a cream or liquid blush. The cream acts as a base, while the powder sets the color in place.
2. Use a Setting Spray
After applying your blush, use a setting spray to lock in your makeup and keep your blush looking fresh.
3. Opt for Long-Wear Formulas
Choose blushes that are designed for long wear, such as stains or gel-based products, which tend to last longer than traditional powders.
4. Avoid Touching Your Face
Touching your face throughout the day can rub off your blush. Try to avoid resting your hands on your face to keep your makeup intact.
Achieving perfectly rosy cheeks is all about understanding your face shape, choosing the right products, and mastering the application techniques. With these tips and tricks, you can enhance your natural beauty and add a healthy flush to your complexion.
